Relates To: DIY SERIES
Generations prior to 4th generation will display P4. 4th Generations will display PC-04 as the error.
When encountering a PC04 or P4 error code, the potential causes and solutions can vary depending on whether the system is newly installed or has been in operation, and whether it is a single-zone or multi-zone system.
Step 1: Verify the Error Code
Confirm that the error code displayed is PC04/P4 by checking the error display at the air handler and ensuring its accuracy before proceeding.
Step 2: Safety Precautions
Before you start troubleshooting, ensure your safety:
- Turn off the power to the unit at the breaker. Leave the power off for 15 minutes to ensure that the unit is fully de-energized.
- Use insulated tools as needed.
- Wear appropriate safety gear, such as gloves and safety glasses.
Perform the following checks and tests only if you are comfortable working with the necessary tools and system. The services of a licensed professional may be required to diagnose and repair the system. Always adhere to local laws and codes when diagnosing, repairing, servicing, or installing equipment. MRCOOL is not responsible for any breaches of local codes or damage to equipment, property, person, or otherwise due to improper use or handling of equipment.
Step 3: System That Was Running Prior
If the system was operating for an extended period before displaying the error code, start with a connection and residue check. Verify that all connections are tight and inspect the line set for any visible damage. Additionally, check for any oily residue on the lines, insulating materials, or the equipment itself. It may be necessary to have the system serviced by a technician to top off refrigerant levels and perform regular maintenance. In the event that our technician or warranty team request this service, please keep a copy of the service invoice, as it provides important information, including charge levels. Please note that our warranty does not cover labor and maintenance costs.
If this does not resolve the issue, turn off the power to the system and access the outdoor unit. Remove the top panel and front cover to reach the control board. Look for any burns or loose wires, and take pictures if you find any for technician reference.
If no burns or loose wires are found and if you are comfortable performing the following tests, locate the white "T" plug between the board and compressor. Ensure the plug is secure and that the red, blue, and black wires are not loose. If everything looks good, disconnect the plug and measure the resistance of the windings from pin to pin that lead to the compressor, as well as each pin to the ground. Record these readings for our technicians, then reconnect the plug. Restart the system and see if the error code is resolved. If the issue persists, inform a team member and provide the above information for further assistance.
Step 4: Newly Installed Single Zone or Dual Zone System
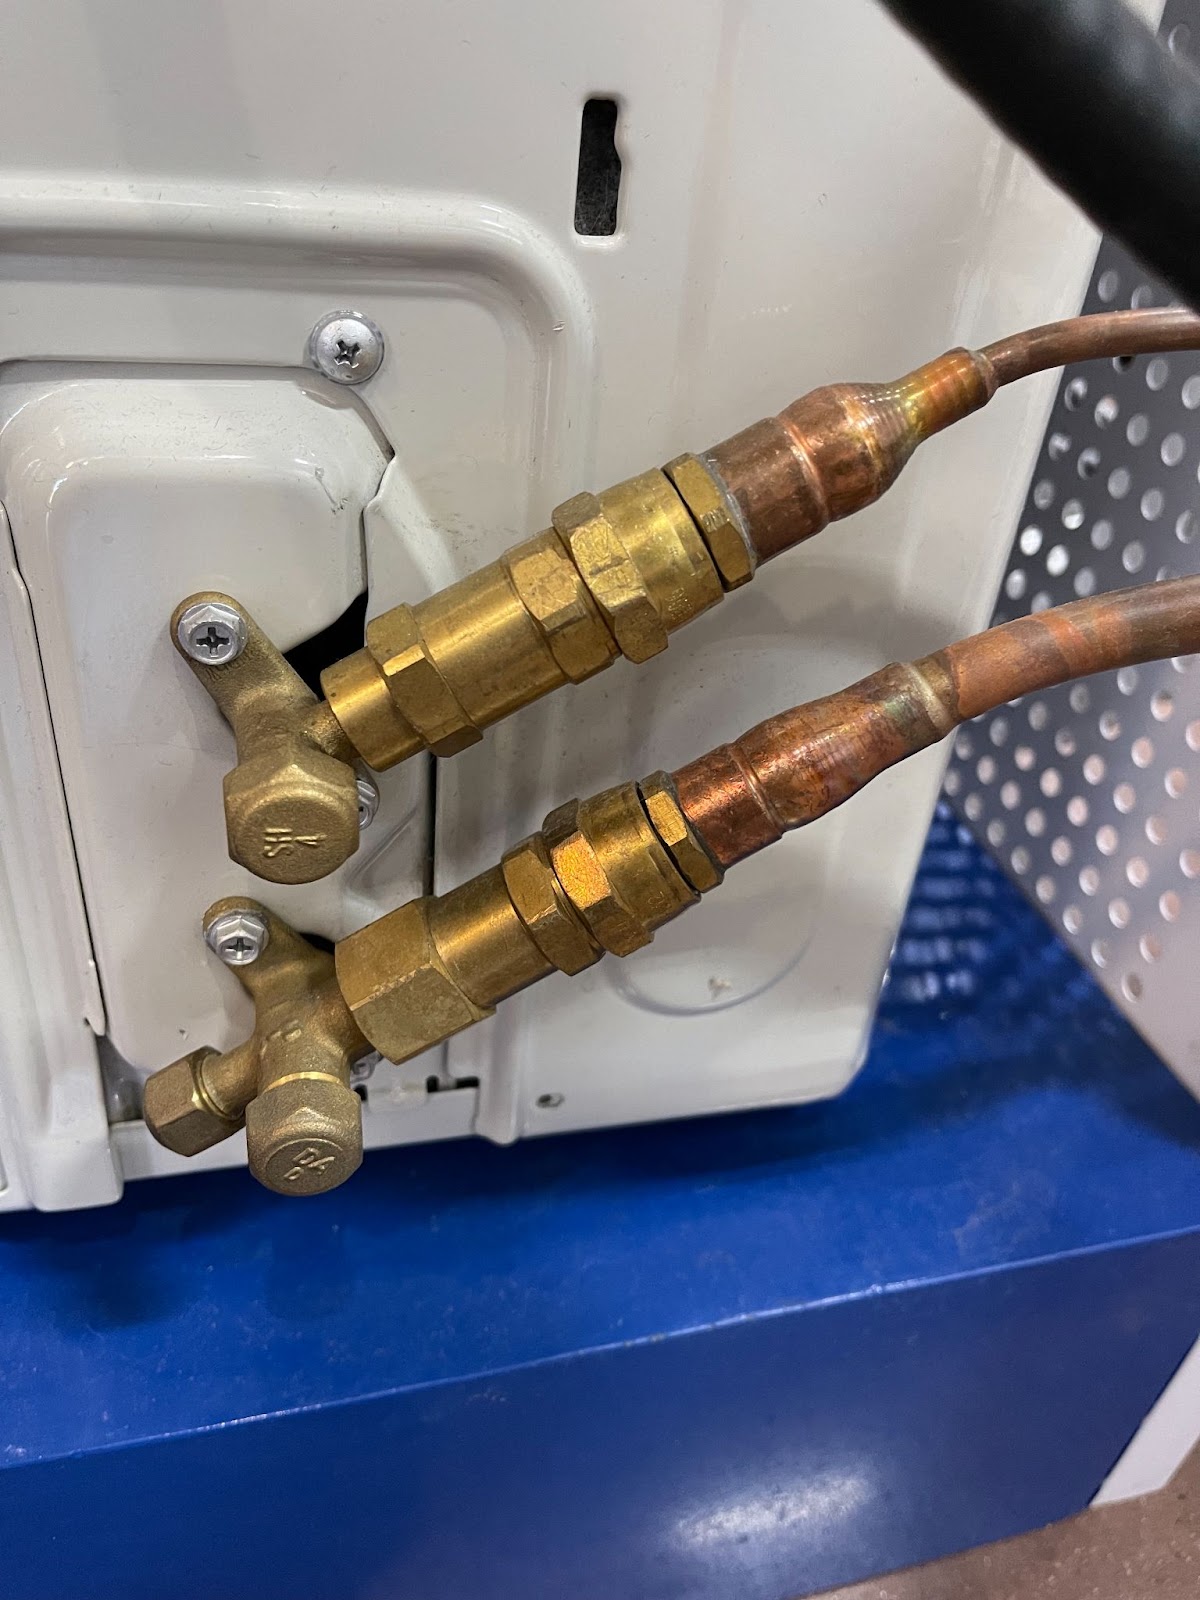
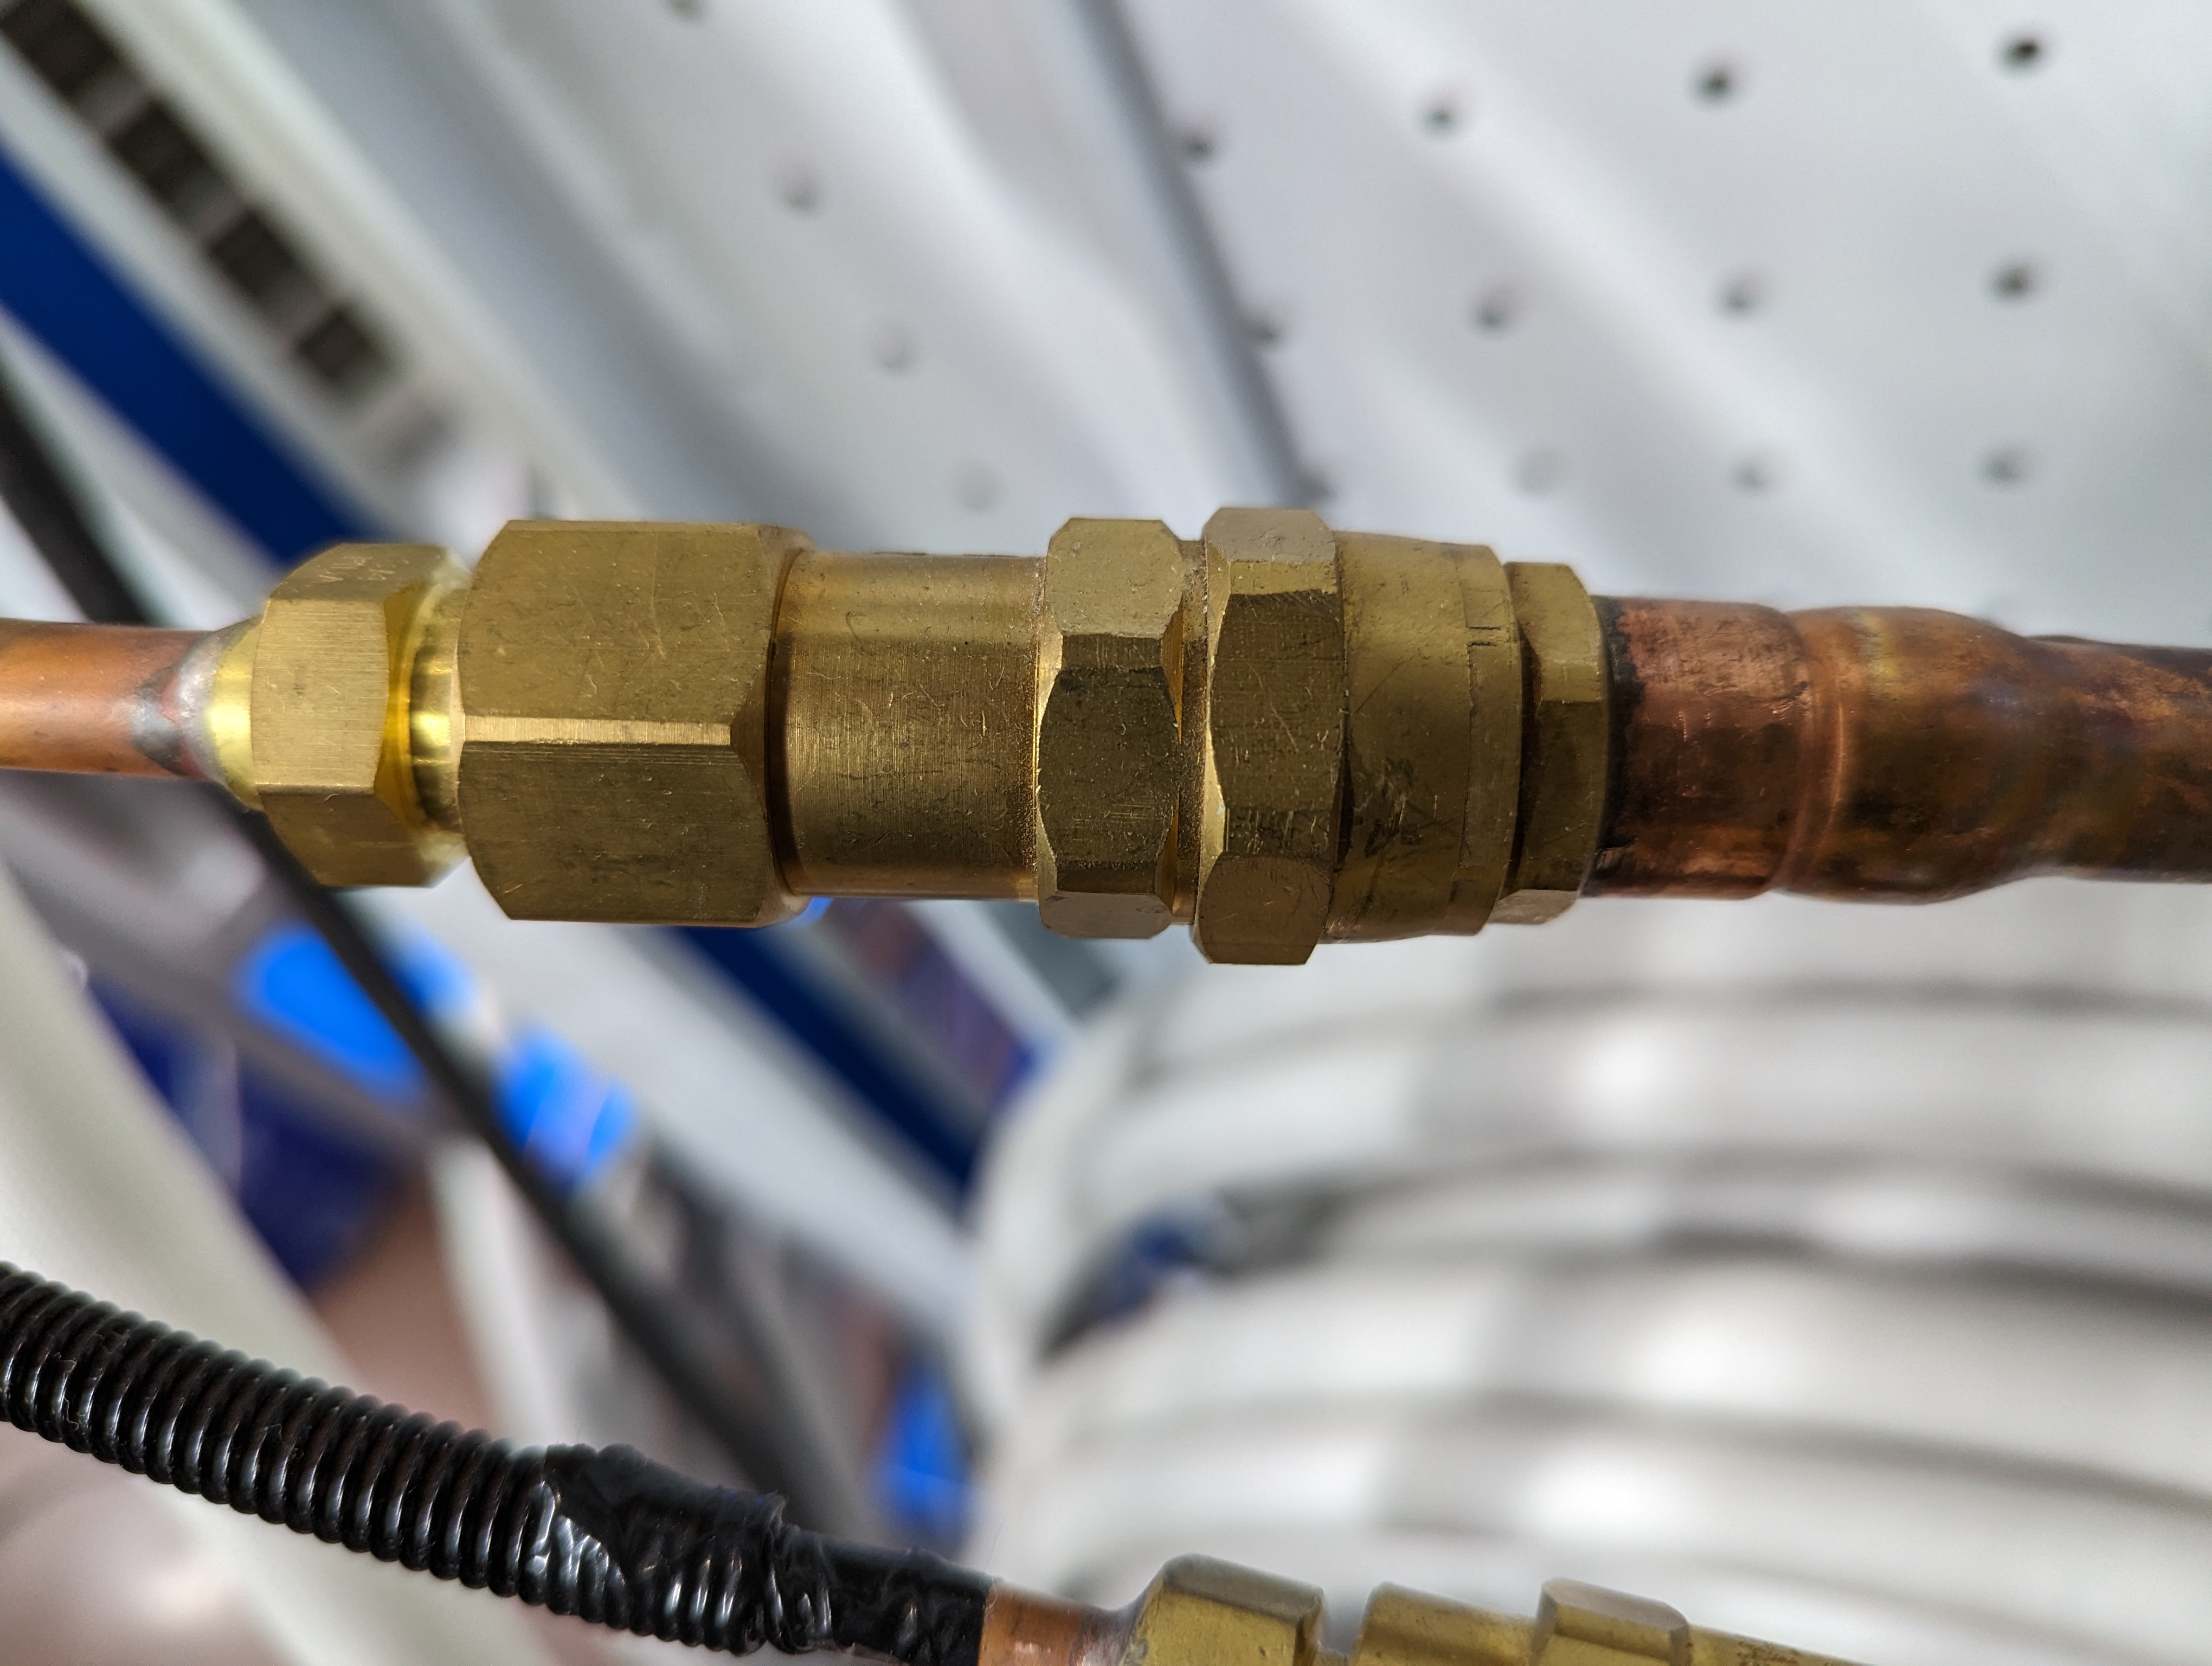
If it is a new dual or single zone installation, start by checking the refrigerant connections. Ensure the valves at the condenser are open and that all line set connections are fully tightened at both the condenser and the air handler(s). If you need to escalate this issue to our tech department, please include pictures of these connections. Below are examples of snug and secure connections at the indoor and outdoor unit.
If this does not resolve the issue, turn off the power to the system and access the outdoor unit. Remove the top panel and front cover to reach the control board. Look for any burns or loose wires, and take pictures if you find any for technician reference.
If no burns or loose wires are found and if you are comfortable performing the following tests, locate the white "T" plug between the board and compressor. Ensure the plug is secure and that the red, blue, and black wires are not loose. If everything looks good, disconnect the plug and measure the resistance of the windings from pin to pin that lead to the compressor, as well as each pin to the ground. Record these readings for our technicians, then reconnect the plug. Restart the system and see if the error code is resolved. If the issue persists, inform a team member and provide the above information for further assistance.
Step 5: Newly Installed Multi Zone System
If it is a new multi-zone installation, start by checking the refrigerant connections. Ensure the valves at the condenser are open, including the two king valves above the main service valves. Check that all line set connections are fully tightened at both the condenser and the air handler(s). If you need to escalate this issue to our tech department, please include pictures of these connections.
Additionally, verify that the communication wires are correctly installed and not mismatched. Each air handler should be checked to ensure that the communication cables match the corresponding refrigerant lines. For example, an air handler connected to the two A ports should have its communication cables connected at 1A, 2A, and 3A, and similarly for the B, C, D, and E ports as applicable. If there are issues tracing the wiring, perform a system reset using the CE function. This reset must be done with the power still on, so exercise caution. Locate the LED display in the outdoor unit, and nearby you'll find a small black button. Hold down this button for about 5 seconds until the display shows "CE," then release it. Allow the system to sit for 20 minutes without changing any settings or turning off the power while it completes the reset.
If this does not resolve the issue, turn off the power to the system and access the outdoor unit. Remove the top panel and front cover to reach the control board. Look for any burns or loose wires, and take pictures if you find any for technician reference.
If no burns or loose wires are found and if you are comfortable performing the following tests, locate the white "T" plug between the board and compressor. Ensure the plug is secure and that the red, blue, and black wires are not loose. If everything looks good, disconnect the plug and measure the resistance of the windings from pin to pin that lead to the compressor, as well as each pin to the ground. Record these readings for our technicians, then reconnect the plug. Restart the system and see if the error code is resolved. If the issue persists, inform a team member and provide the above information for further assistance.
Comments
0 comments
Please sign in to leave a comment.